
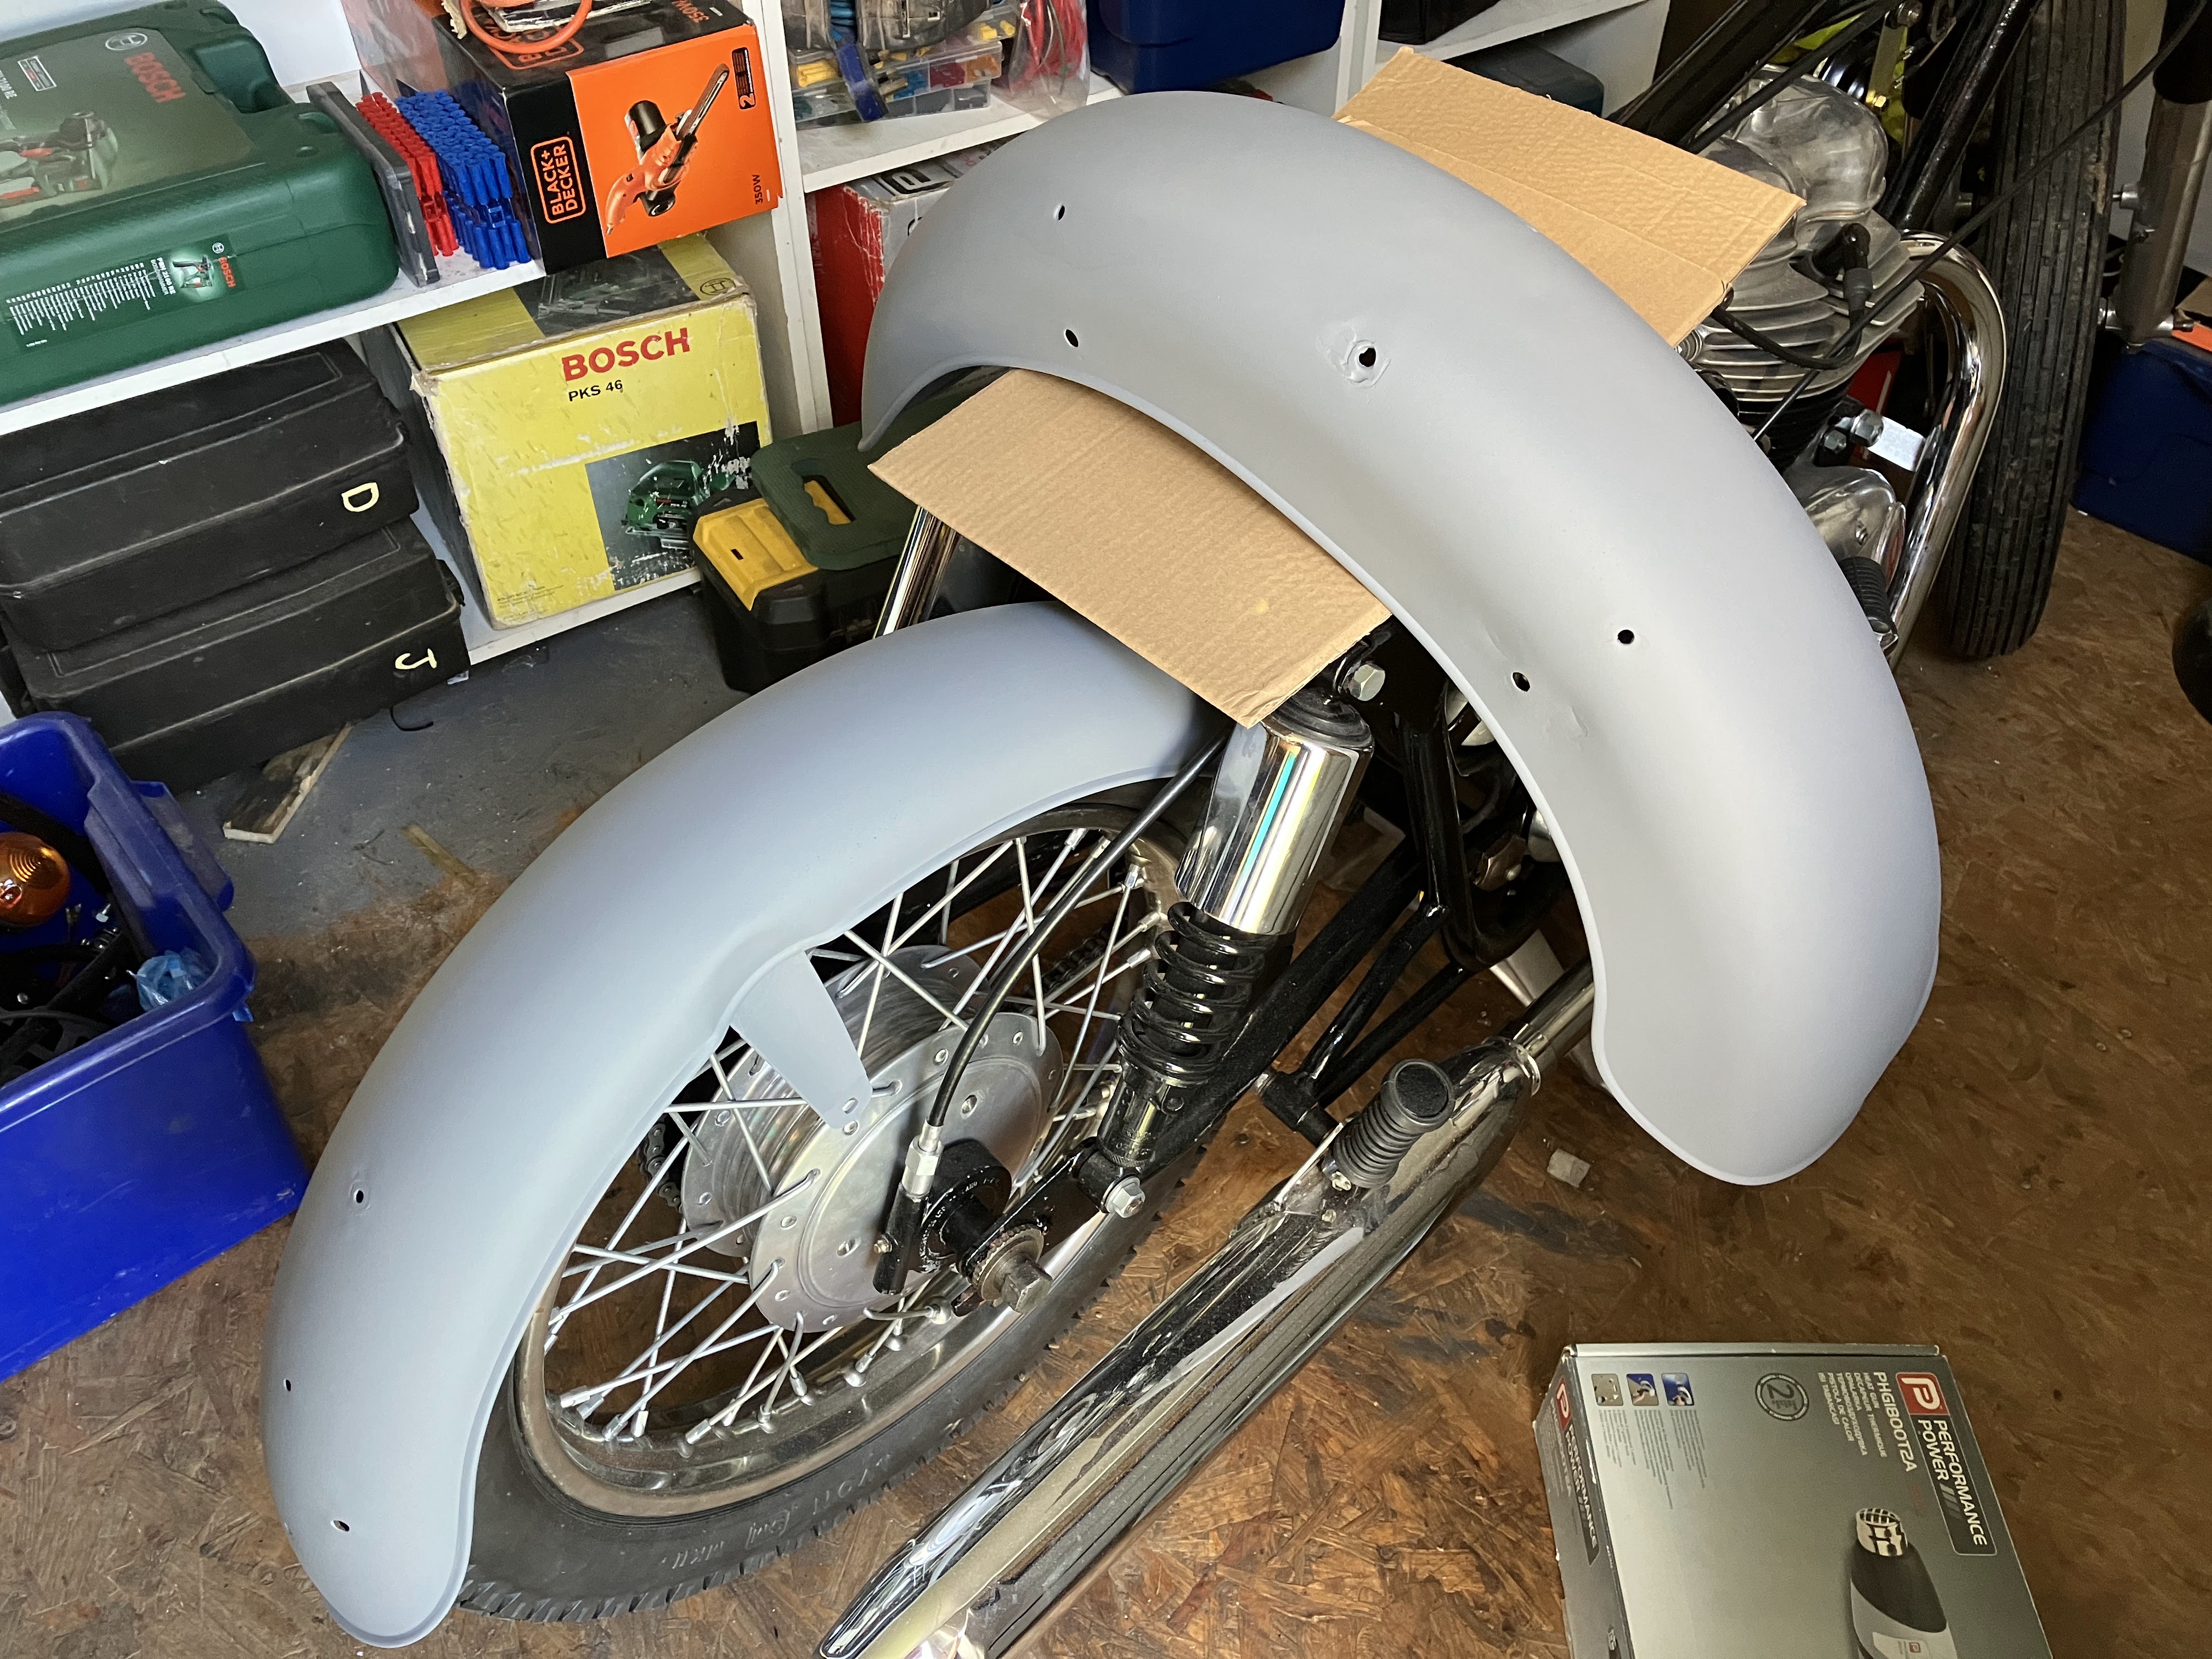
Although everything had been coated with primer filler, I gave it all a couple of coats of grey primer, so that it gave the correct base colour for the green and grey top coats. The tank needed priming anyway, as a lot of the primer filler had been rubbed away in the previous prep stage.
I did all of the undersides first and let that dry overnight, before applying the uppersides.

I applied a first coat on the topside of the tank and found that there were dozens of pinholes still showing through so I used “knifing filler” to fill these imperfections.

Talk about "two steps forward, one step back!", this is the tank after yet another rubbing down. "It's all in the preparation".


So finally everything got primed and, after a day to dry, flatted down very lightly with 800 grade emery paper used wet.


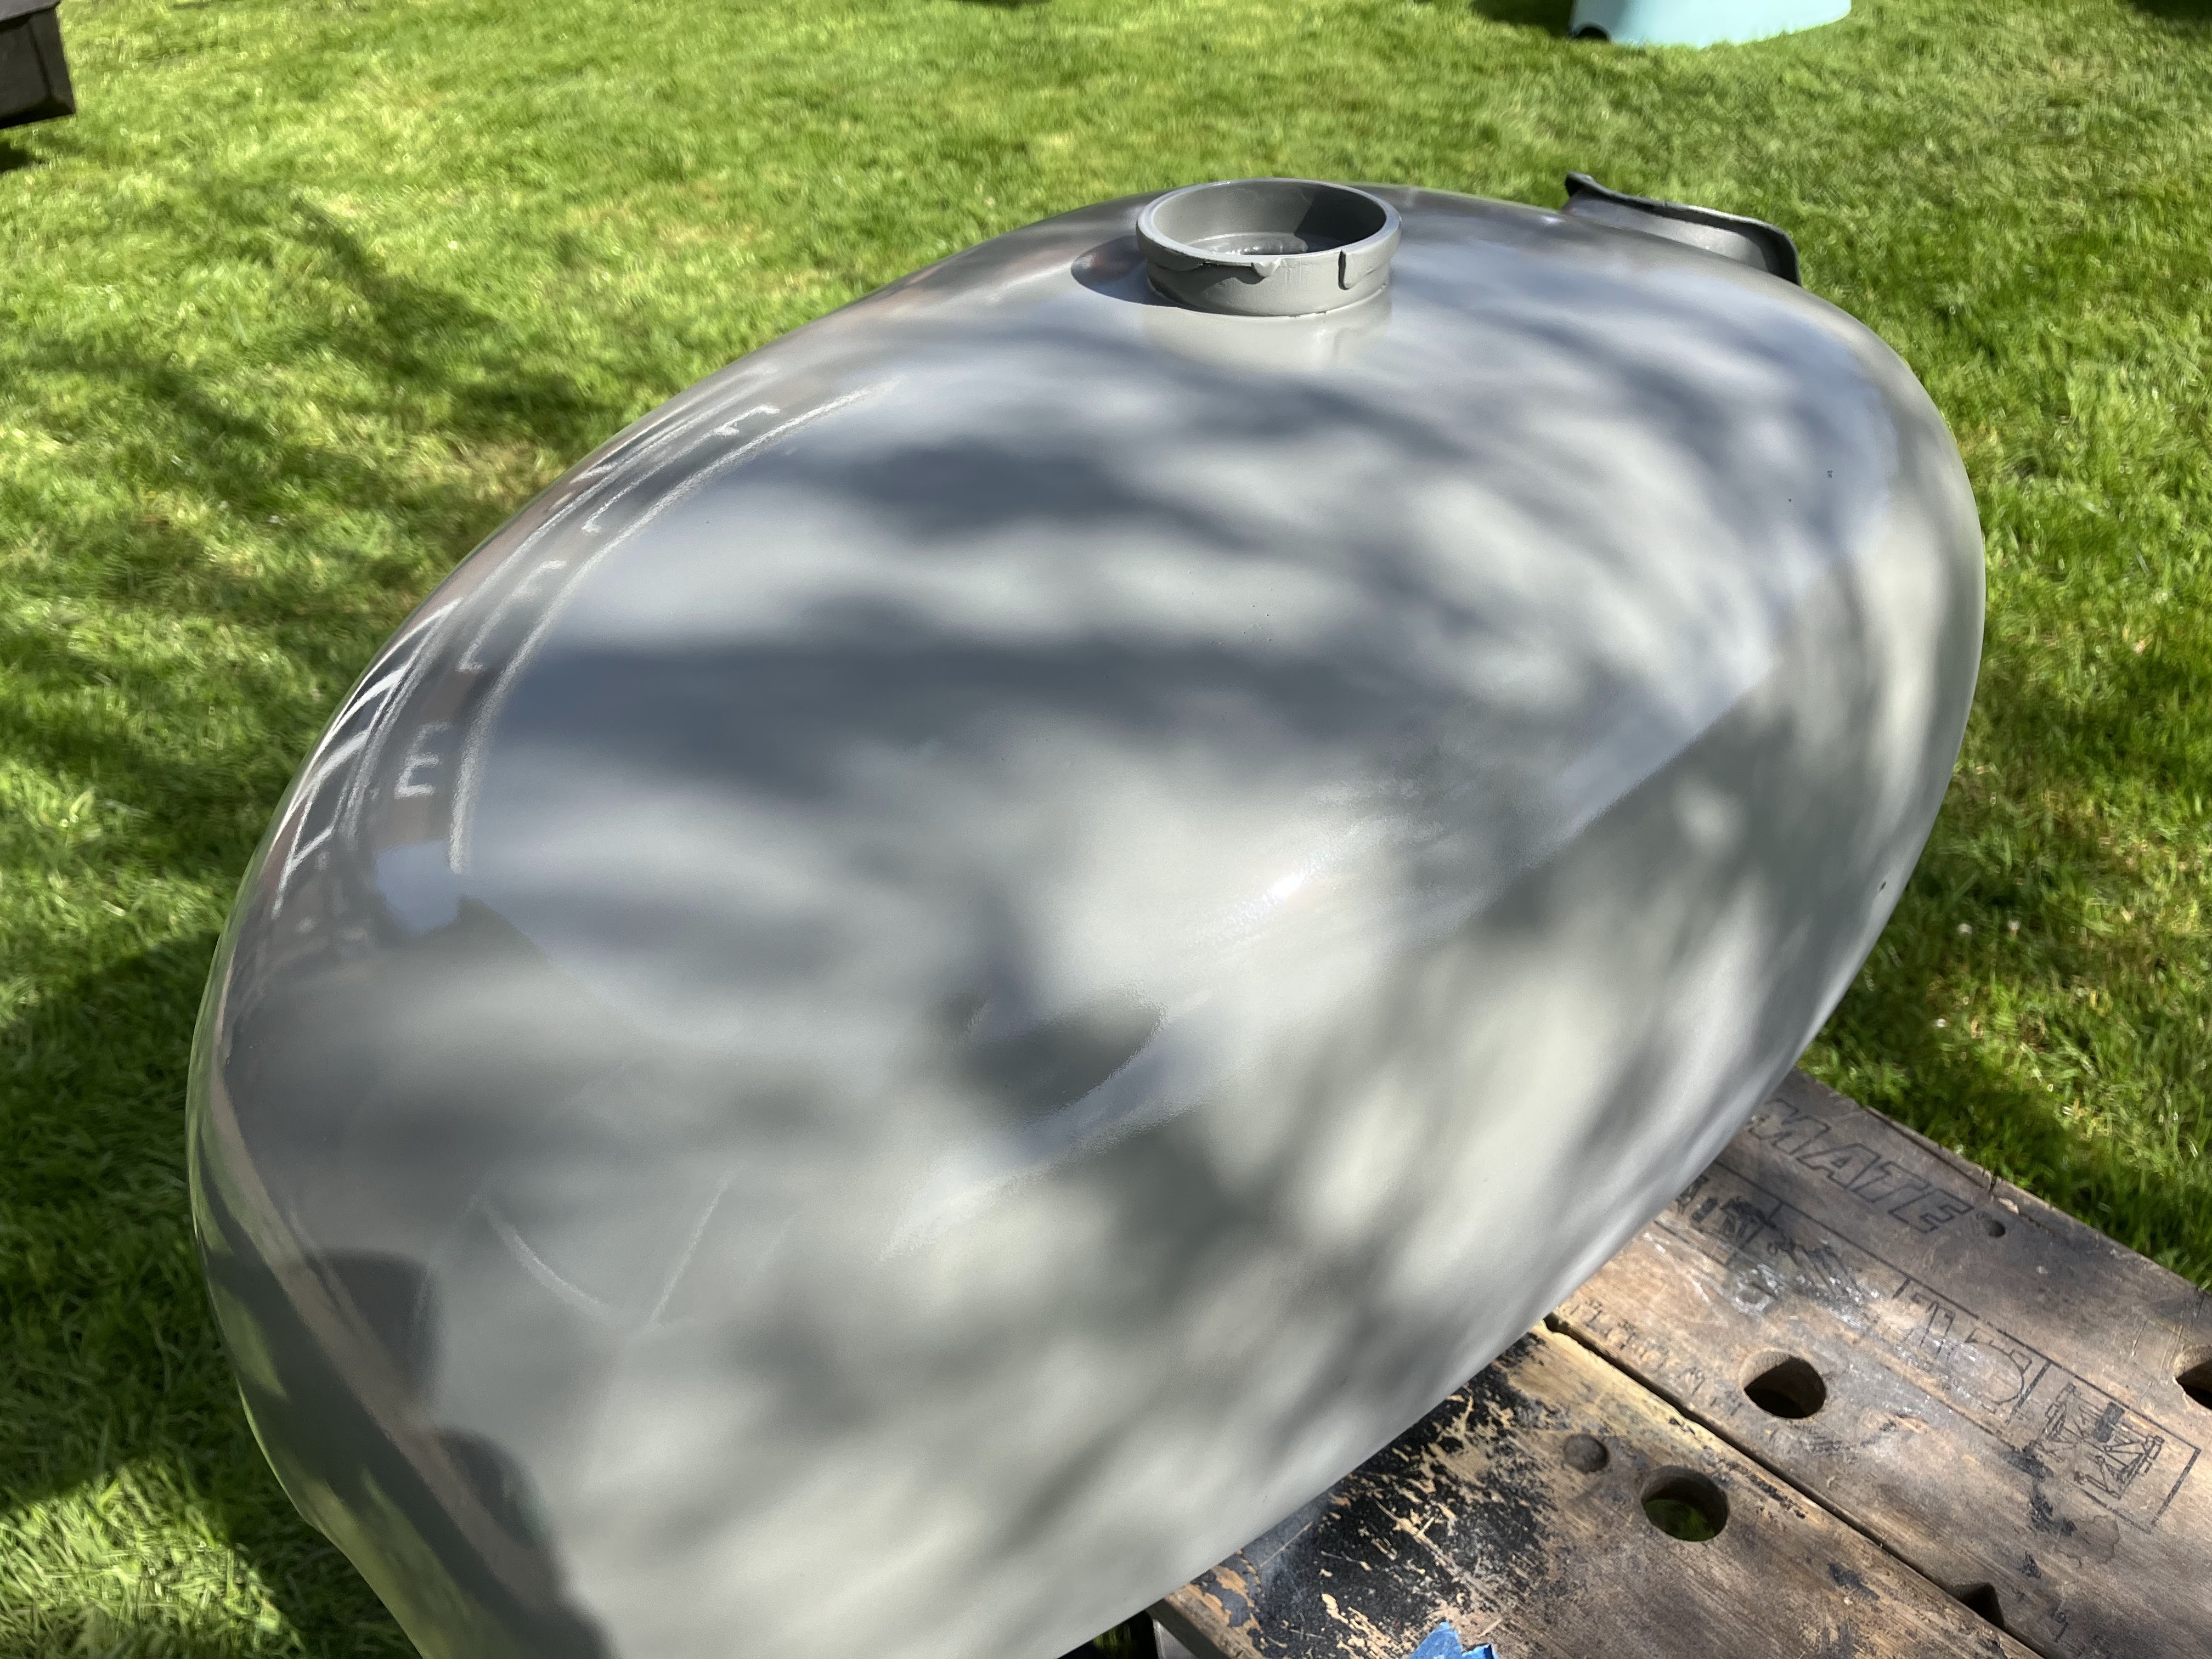
The grey contrast stripe and panel areas on the mudguards and tank were done next - the colour is surprisingly similar to the grey primer, but glossy!

I masked up the areas that are going to be grey on the tank and mudguards and then sprayed the undersides of everything, leaving it to dry overnight.


A couple of days later I applied the top coats to the uppersides, and then carefully peeled off the masking.


I had a minor setback with the rear mudguard, when it slowly slid off the stand as I started painting it and clattered to the floor! Just a few small scuffs, so I left it to harden overnight then gently sanded back the scuffs and started again.


I couldn't resist popping the tank on the bike to see what it looked like!

Overall, I'm pretty pleased with how this has all turned out so far. Not perfect by any means, but a hundred times better than what arrived here! Next, onto the scarey business of pinstriping and applying the decals before the clear coat can be applied.
No comments:
Post a Comment