
I'm writing this sometime after the event now as I haven't really had time to update the blog on top of everything else I was doing at the time!
With the scarey internals sorted, it was time to move on to the, supposedly easier, ancillaries. First to go on was the gearbox chain sprocket. I fitted a new one, as it's not in the easiest place to get to (behind the clutch) once all the engine is built up.
I didn't have the necessary box spanner, so ended up using a combination of mole grips and an adjustable spanner to get it on! The new final drive chain was looped around the sprocket and then locked in place with a screwdriver through two of the links, to stop the shaft from spinning while I tightened it. A small grub screw was loctited in place, which prevents the nut from spinning undone.


Next came the gearchange linkage. At this stage, I just got the linkage installed, but there would be another process later on to actually get the adjustment of this right, and even then I think the proof of whether it is really working correctly will be when I ride her, as this set up is renowned for being a bit difficult to get right and avoid false neutrals.

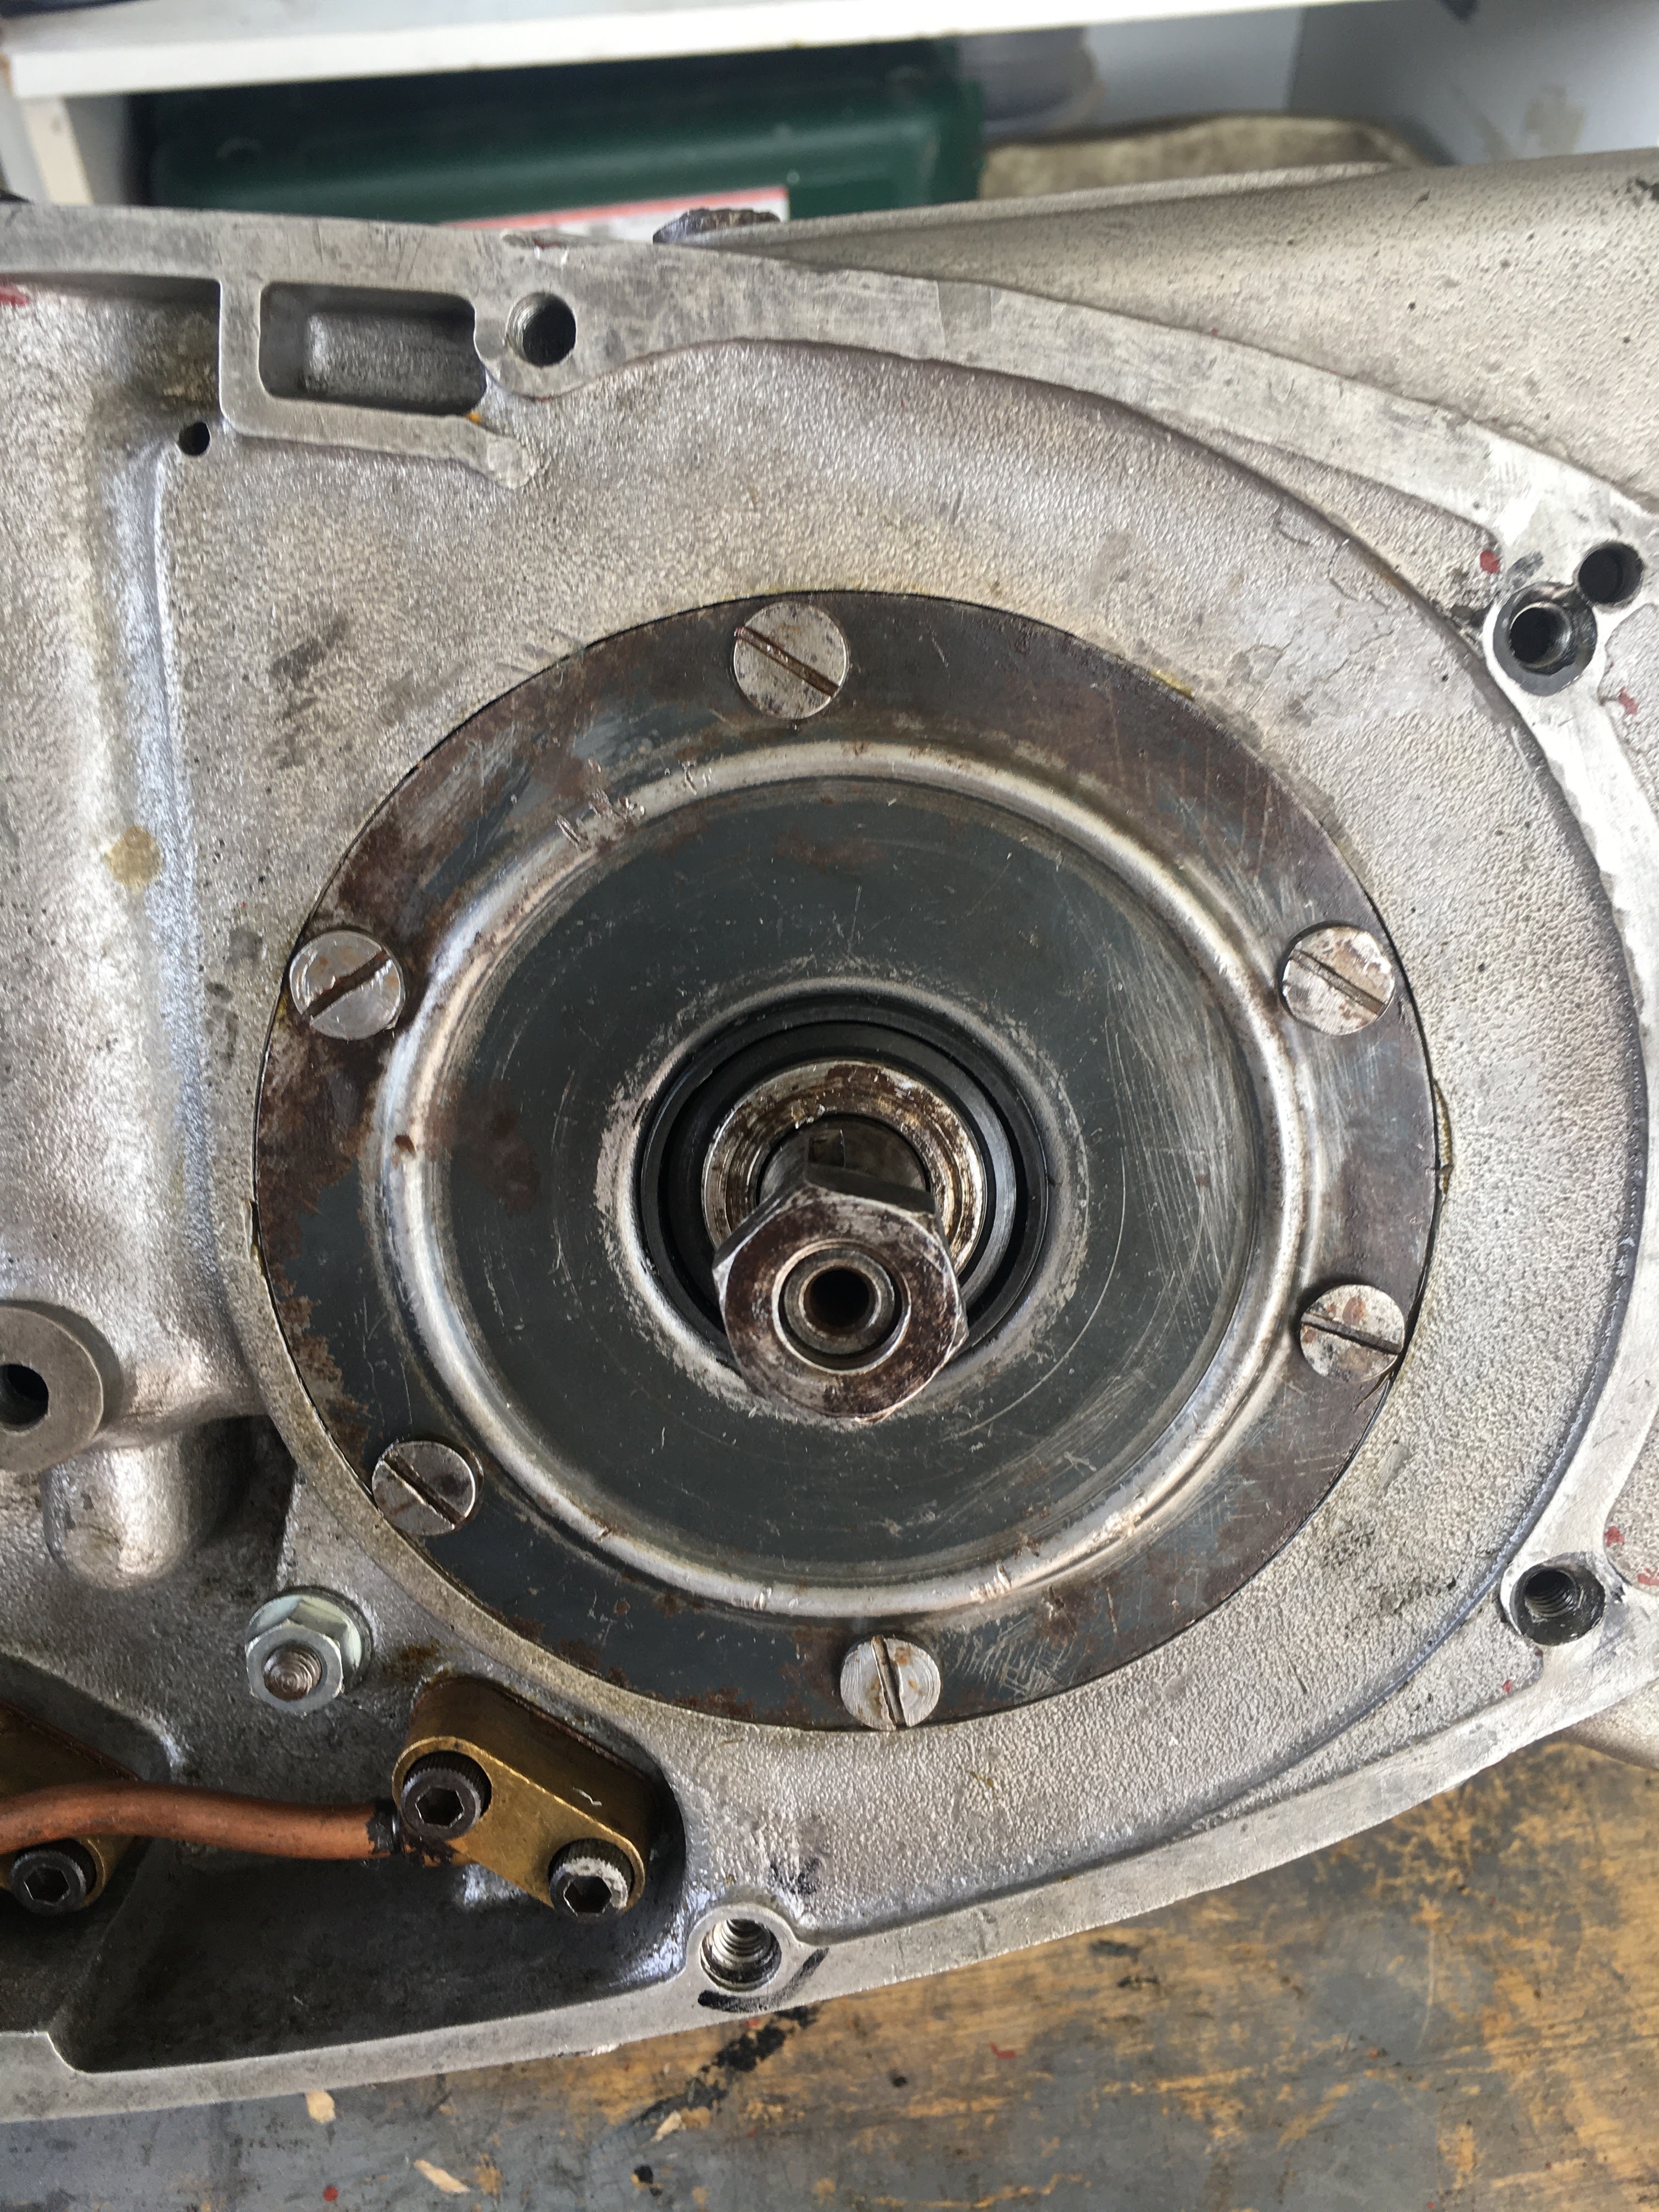
I locked the crankshaft from turning by a dowel through the small end resting on two scraps of wood and then fitted the rotor with it's woodruff key followed by the stator. At this stage I opted to reuse the original equipment, although I do have doubts about how reliable this 60 year old kit will be in practice and may upgrade at some point. I will definitely do a 12v conversion in either case.


Moving back around to the primary drive side of the engine, the gearbox cover plate and drive cogs from the crank were added. The smaller timing cog needs to go on the correct way (there is an offset boss on the back of it that fits into a recess on the end of the crank) so that the timing is correct later.


Erm no - very disappointing actually, as this revealed that the back plate of the clutch basket was very out of true, to the point where it was actually grating on the gearbox cover plate behind it. The collective wisdom of the internet was that this would commonly have been caused by someone trying to lever off the clutch basket from its taper, rather than using the correct puller for the job.
My initial instinct was that I would have to buy a new one, but these are very expensive new and good second hand ones are rare. I decided to have a go at straightening it. First of all, I ordered a puller! I couldn't find one locally but ordered an Indian one for a Bullet via EBay, taking a punt that it would fit and with a Plan B that I could probably adapt it if not.
Then I removed the basket from the backplate by removing a big circlip. I covered the plate in masking tape and, using my vernier gauge as a depth gauge, took readings of the varying "depths" around the circumference.


I now had a map of the high and low points, which showed that there was over 3 mm of runout between the extremes. When the puller turned up, it fitted perfectly - off popped the centre ☺

By applying gentle but firm pressure in the vice, I managed to persuade the backplate back into something resembling a flat surface. When refitted, the runout was less than 1mm so miles better and I'm sure it will be fine.

With the basket remounted, I fitted the primary and timing chains and their respective tensioners. All span nicely, and easily, as it should.


No comments:
Post a Comment